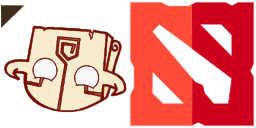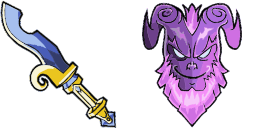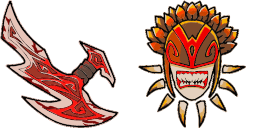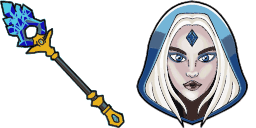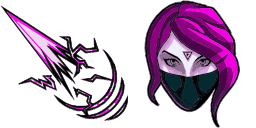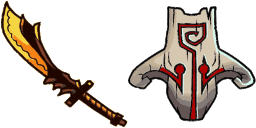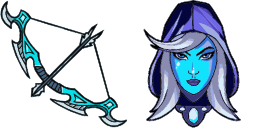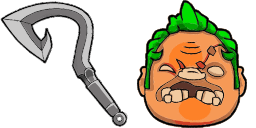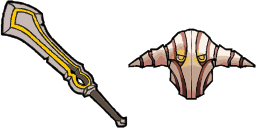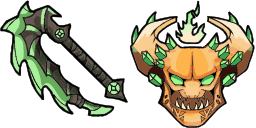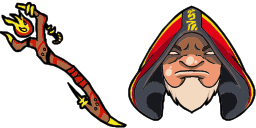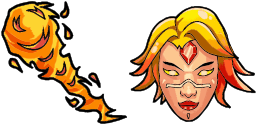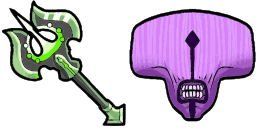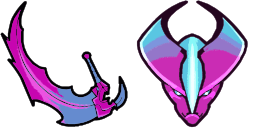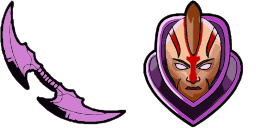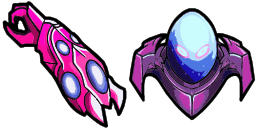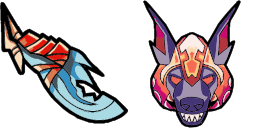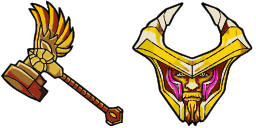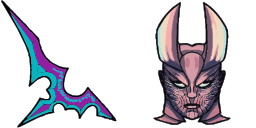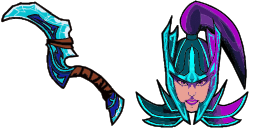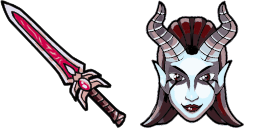
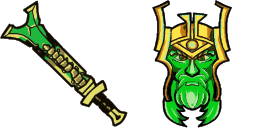
Pré-visualização do cursor: Wraith King - 1 - cute-cursor.com

Pacote de cursor

Wraith King

DOTA 2Adicionado 89 vezes

Wraith King cursor pack for Chrome - MOBA hero default pointer and ability hand hover. DOTA 2 fan art.

Adicionar à Extensão

If you are a fan of the game Dota 2, then you will love the Wraith King cursor from the Games Cursor Collection. This cursor set brings the iconic character to life with a new and improved design. The set includes custom cursors for your browser that are easy to install and use. Whether you are searching the web or battling in your favorite game, the Wraith King cursor is a great way to show your love for Dota 2. So why wait? Download the Wraith King cursor now and start using it on your browser today!

Arquivos do cursor

Baixe o arquivo ou copie o código CSS, JavaScript, React e Roblox pronto para usar, com o hotspot correto.

Cursor - 1 - cute-cursor.com

Cursor

Baixe o arquivo ou copie o código de incorporação para o seu site, React, JavaScript ou Roblox.

Cole este CSS na sua folha de estilos. As coordenadas do hotspot já estão incluídas.

.custom-cursor {
  cursor: url('https://cute-cursor.com/cdn/packs/10416/arrow.png') 11 10, auto;
}

Cole este JavaScript para aplicar o cursor com o hotspot correto.

const CURSOR_URL = 'https://cute-cursor.com/cdn/packs/10416/arrow.png';
const HOTSPOT_X = 11;
const HOTSPOT_Y = 10;
const CURSOR_FALLBACK = 'auto';

const cursorValue = `url('${CURSOR_URL}') ${HOTSPOT_X} ${HOTSPOT_Y}, ${CURSOR_FALLBACK}`;

// Apply to the whole page
document.body.style.cursor = cursorValue;

// Or apply to a specific element
// const target = document.querySelector('.my-element');
// if (target) target.style.cursor = cursorValue;

Copie este componente React e envolva seu conteúdo com ele.

import React from 'react';

const CURSOR_URL = 'https://cute-cursor.com/cdn/packs/10416/arrow.png';
const HOTSPOT_X = 11;
const HOTSPOT_Y = 10;
const CURSOR_FALLBACK = 'auto';

export default function CustomCursor({ children, className = '', as: Tag = 'div', style = {}, ...props }) {
  const cursorStyle = {
    cursor: `url('${CURSOR_URL}') ${HOTSPOT_X} ${HOTSPOT_Y}, ${CURSOR_FALLBACK}`,
    ...style,
  };

  return (
    <Tag className={className} style={cursorStyle} {...props}>
      {children}
    </Tag>
  );
}

// Usage:
// <CustomCursor>Your content</CustomCursor>

Envie a imagem para o Roblox, substitua YOUR_ASSET_ID e cole este LocalScript.

-- Roblox custom cursor
-- Image URL: https://cute-cursor.com/cdn/packs/10416/arrow.png
-- Hotspot: 11, 10
-- Size: 128x128
-- 1. Upload the image to Roblox and copy rbxassetid
-- 2. Replace YOUR_ASSET_ID below
-- 3. Put this LocalScript in StarterPlayer > StarterPlayerScripts

local UserInputService = game:GetService("UserInputService")
local RunService = game:GetService("RunService")
local Players = game:GetService("Players")

local player = Players.LocalPlayer
local playerGui = player:WaitForChild("PlayerGui")

local HOTSPOT_X = 11
local HOTSPOT_Y = 10
local CURSOR_WIDTH = 128
local CURSOR_HEIGHT = 128

local screenGui = Instance.new("ScreenGui")
screenGui.Name = "CustomCursorGui"
screenGui.ResetOnSpawn = false
screenGui.IgnoreGuiInset = true
screenGui.DisplayOrder = 999999
screenGui.Parent = playerGui

local cursor = Instance.new("ImageLabel")
cursor.Name = "CustomCursor"
cursor.BackgroundTransparency = 1
cursor.Size = UDim2.fromOffset(CURSOR_WIDTH, CURSOR_HEIGHT)
cursor.Image = "rbxassetid://YOUR_ASSET_ID"
cursor.ZIndex = 999999
cursor.Parent = screenGui

UserInputService.MouseIconEnabled = false

RunService.RenderStepped:Connect(function()
    local mouseLocation = UserInputService:GetMouseLocation()
    cursor.Position = UDim2.fromOffset(mouseLocation.X - HOTSPOT_X, mouseLocation.Y - HOTSPOT_Y)
end)
Ponteiro - 2 - cute-cursor.com

Ponteiro

Baixe o arquivo ou copie o código de incorporação para o seu site, React, JavaScript ou Roblox.

Cole este CSS na sua folha de estilos. As coordenadas do hotspot já estão incluídas.

.custom-pointer {
  cursor: url('https://cute-cursor.com/cdn/packs/10416/hand.png') 31 7, pointer;
}

Cole este JavaScript para aplicar o cursor com o hotspot correto.

const CURSOR_URL = 'https://cute-cursor.com/cdn/packs/10416/hand.png';
const HOTSPOT_X = 31;
const HOTSPOT_Y = 7;
const CURSOR_FALLBACK = 'pointer';

const cursorValue = `url('${CURSOR_URL}') ${HOTSPOT_X} ${HOTSPOT_Y}, ${CURSOR_FALLBACK}`;

// Apply to the whole page
document.body.style.cursor = cursorValue;

// Or apply to a specific element
// const target = document.querySelector('.my-element');
// if (target) target.style.cursor = cursorValue;

Copie este componente React e envolva seu conteúdo com ele.

import React from 'react';

const CURSOR_URL = 'https://cute-cursor.com/cdn/packs/10416/hand.png';
const HOTSPOT_X = 31;
const HOTSPOT_Y = 7;
const CURSOR_FALLBACK = 'pointer';

export default function CustomPointer({ children, className = '', as: Tag = 'div', style = {}, ...props }) {
  const cursorStyle = {
    cursor: `url('${CURSOR_URL}') ${HOTSPOT_X} ${HOTSPOT_Y}, ${CURSOR_FALLBACK}`,
    ...style,
  };

  return (
    <Tag className={className} style={cursorStyle} {...props}>
      {children}
    </Tag>
  );
}

// Usage:
// <CustomPointer>Your content</CustomPointer>

Envie a imagem para o Roblox, substitua YOUR_ASSET_ID e cole este LocalScript.

-- Roblox custom cursor
-- Image URL: https://cute-cursor.com/cdn/packs/10416/hand.png
-- Hotspot: 31, 7
-- Size: 128x128
-- 1. Upload the image to Roblox and copy rbxassetid
-- 2. Replace YOUR_ASSET_ID below
-- 3. Put this LocalScript in StarterPlayer > StarterPlayerScripts

local UserInputService = game:GetService("UserInputService")
local RunService = game:GetService("RunService")
local Players = game:GetService("Players")

local player = Players.LocalPlayer
local playerGui = player:WaitForChild("PlayerGui")

local HOTSPOT_X = 31
local HOTSPOT_Y = 7
local CURSOR_WIDTH = 128
local CURSOR_HEIGHT = 128

local screenGui = Instance.new("ScreenGui")
screenGui.Name = "CustomCursorGui"
screenGui.ResetOnSpawn = false
screenGui.IgnoreGuiInset = true
screenGui.DisplayOrder = 999999
screenGui.Parent = playerGui

local cursor = Instance.new("ImageLabel")
cursor.Name = "CustomCursor"
cursor.BackgroundTransparency = 1
cursor.Size = UDim2.fromOffset(CURSOR_WIDTH, CURSOR_HEIGHT)
cursor.Image = "rbxassetid://YOUR_ASSET_ID"
cursor.ZIndex = 999999
cursor.Parent = screenGui

UserInputService.MouseIconEnabled = false

RunService.RenderStepped:Connect(function()
    local mouseLocation = UserInputService:GetMouseLocation()
    cursor.Position = UDim2.fromOffset(mouseLocation.X - HOTSPOT_X, mouseLocation.Y - HOTSPOT_Y)
end)
100% Grátis

Obtenha a extensão Cursor Changer

Gratuito para o Chrome. Instale uma vez e depois clique em Adicionar em qualquer cursor que você gostar.

Instalar no Chrome