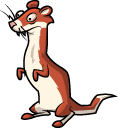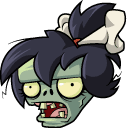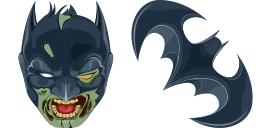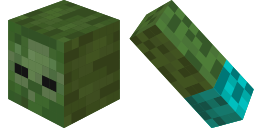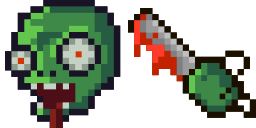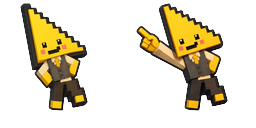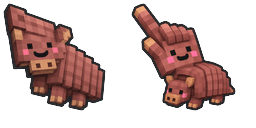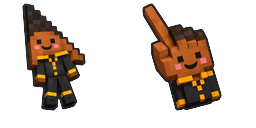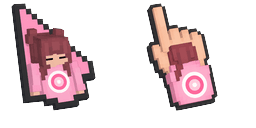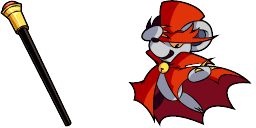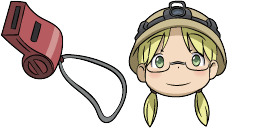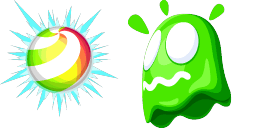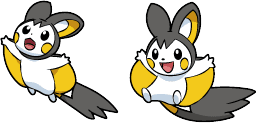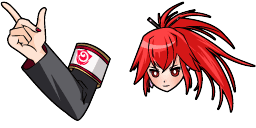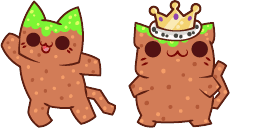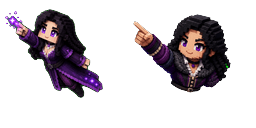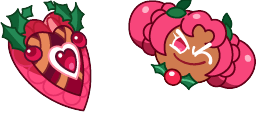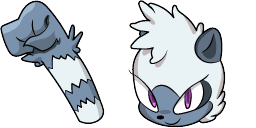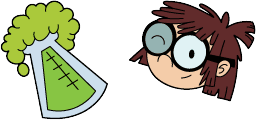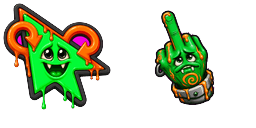
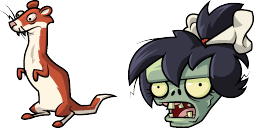
Cursor preview: Frozen Fun - 1 - cute-cursor.com

Cursor pack

Frozen Fun

Frozen Fun custom cursor - a cute themed pointer for your desktop.

Add to Extension

Frozen Fun Custom Cursor Pack
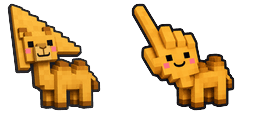
Meet the Frozen Fun custom cursor on cute-cursor.com - a themed pointer built for fans of PvZ Mix Packs. The arrow keeps the character readable at cursor size; the hand pointer is a matching hover pose for clicks and links.

Frozen Fun leans into the look and personality of its subject: clear silhouette, friendly detailing, and colors that stay sharp on light or dark desktops. Frozen Fun guides your pointer with frozen fun plants vs zombies peashooter sunflower zombie art on matched click cursors featuring peashooter cursor energy. The plant defense duo suits PvZ 2 streams and seed packet desk Motifs include Animal, Plant Vs Zombies, Zombie. Searchers looking for a frozen fun cursors will recognize the theme instantly.

Use the arrow for everyday browsing and switch to the pointer when you hover buttons or interactive UI. Works in Chrome and Edge on Windows 10/11. Fan-made art for personal use on cute-cursor.com - not an official product and not affiliated with any third-party cursor store.

Download the Frozen Fun cute cursor pack when you want a playful desktop that matches the PvZ Mix Packs category vibe without cluttering your taskbar.
Cursor files

Download the file or copy ready-to-use CSS, JavaScript, React, and Roblox code with the correct hotspot.

Cursor - 1 - cute-cursor.com

Cursor

Download the file or copy embed code for your website, React, JavaScript, or Roblox.

Paste this CSS into your stylesheet. Hotspot coordinates are already included.

.custom-cursor {
  cursor: url('https://cute-cursor.com/cdn/packs/147072/arrow.png') 32 2, auto;
}

Paste this JavaScript to apply the cursor with the correct hotspot.

const CURSOR_URL = 'https://cute-cursor.com/cdn/packs/147072/arrow.png';
const HOTSPOT_X = 32;
const HOTSPOT_Y = 2;
const CURSOR_FALLBACK = 'auto';

const cursorValue = `url('${CURSOR_URL}') ${HOTSPOT_X} ${HOTSPOT_Y}, ${CURSOR_FALLBACK}`;

// Apply to the whole page
document.body.style.cursor = cursorValue;

// Or apply to a specific element
// const target = document.querySelector('.my-element');
// if (target) target.style.cursor = cursorValue;

Copy this React component and wrap your content with it.

import React from 'react';

const CURSOR_URL = 'https://cute-cursor.com/cdn/packs/147072/arrow.png';
const HOTSPOT_X = 32;
const HOTSPOT_Y = 2;
const CURSOR_FALLBACK = 'auto';

export default function CustomCursor({ children, className = '', as: Tag = 'div', style = {}, ...props }) {
  const cursorStyle = {
    cursor: `url('${CURSOR_URL}') ${HOTSPOT_X} ${HOTSPOT_Y}, ${CURSOR_FALLBACK}`,
    ...style,
  };

  return (
    <Tag className={className} style={cursorStyle} {...props}>
      {children}
    </Tag>
  );
}

// Usage:
// <CustomCursor>Your content</CustomCursor>

Upload the image to Roblox, replace YOUR_ASSET_ID, then paste this LocalScript.

-- Roblox custom cursor
-- Image URL: https://cute-cursor.com/cdn/packs/147072/arrow.png
-- Hotspot: 32, 2
-- Size: 128x128
-- 1. Upload the image to Roblox and copy rbxassetid
-- 2. Replace YOUR_ASSET_ID below
-- 3. Put this LocalScript in StarterPlayer > StarterPlayerScripts

local UserInputService = game:GetService("UserInputService")
local RunService = game:GetService("RunService")
local Players = game:GetService("Players")

local player = Players.LocalPlayer
local playerGui = player:WaitForChild("PlayerGui")

local HOTSPOT_X = 32
local HOTSPOT_Y = 2
local CURSOR_WIDTH = 128
local CURSOR_HEIGHT = 128

local screenGui = Instance.new("ScreenGui")
screenGui.Name = "CustomCursorGui"
screenGui.ResetOnSpawn = false
screenGui.IgnoreGuiInset = true
screenGui.DisplayOrder = 999999
screenGui.Parent = playerGui

local cursor = Instance.new("ImageLabel")
cursor.Name = "CustomCursor"
cursor.BackgroundTransparency = 1
cursor.Size = UDim2.fromOffset(CURSOR_WIDTH, CURSOR_HEIGHT)
cursor.Image = "rbxassetid://YOUR_ASSET_ID"
cursor.ZIndex = 999999
cursor.Parent = screenGui

UserInputService.MouseIconEnabled = false

RunService.RenderStepped:Connect(function()
    local mouseLocation = UserInputService:GetMouseLocation()
    cursor.Position = UDim2.fromOffset(mouseLocation.X - HOTSPOT_X, mouseLocation.Y - HOTSPOT_Y)
end)
Pointer - 2 - cute-cursor.com

Pointer

Download the file or copy embed code for your website, React, JavaScript, or Roblox.

Paste this CSS into your stylesheet. Hotspot coordinates are already included.

.custom-pointer {
  cursor: url('https://cute-cursor.com/cdn/packs/147072/hand.png') 80 2, pointer;
}

Paste this JavaScript to apply the cursor with the correct hotspot.

const CURSOR_URL = 'https://cute-cursor.com/cdn/packs/147072/hand.png';
const HOTSPOT_X = 80;
const HOTSPOT_Y = 2;
const CURSOR_FALLBACK = 'pointer';

const cursorValue = `url('${CURSOR_URL}') ${HOTSPOT_X} ${HOTSPOT_Y}, ${CURSOR_FALLBACK}`;

// Apply to the whole page
document.body.style.cursor = cursorValue;

// Or apply to a specific element
// const target = document.querySelector('.my-element');
// if (target) target.style.cursor = cursorValue;

Copy this React component and wrap your content with it.

import React from 'react';

const CURSOR_URL = 'https://cute-cursor.com/cdn/packs/147072/hand.png';
const HOTSPOT_X = 80;
const HOTSPOT_Y = 2;
const CURSOR_FALLBACK = 'pointer';

export default function CustomPointer({ children, className = '', as: Tag = 'div', style = {}, ...props }) {
  const cursorStyle = {
    cursor: `url('${CURSOR_URL}') ${HOTSPOT_X} ${HOTSPOT_Y}, ${CURSOR_FALLBACK}`,
    ...style,
  };

  return (
    <Tag className={className} style={cursorStyle} {...props}>
      {children}
    </Tag>
  );
}

// Usage:
// <CustomPointer>Your content</CustomPointer>

Upload the image to Roblox, replace YOUR_ASSET_ID, then paste this LocalScript.

-- Roblox custom cursor
-- Image URL: https://cute-cursor.com/cdn/packs/147072/hand.png
-- Hotspot: 80, 2
-- Size: 128x128
-- 1. Upload the image to Roblox and copy rbxassetid
-- 2. Replace YOUR_ASSET_ID below
-- 3. Put this LocalScript in StarterPlayer > StarterPlayerScripts

local UserInputService = game:GetService("UserInputService")
local RunService = game:GetService("RunService")
local Players = game:GetService("Players")

local player = Players.LocalPlayer
local playerGui = player:WaitForChild("PlayerGui")

local HOTSPOT_X = 80
local HOTSPOT_Y = 2
local CURSOR_WIDTH = 128
local CURSOR_HEIGHT = 128

local screenGui = Instance.new("ScreenGui")
screenGui.Name = "CustomCursorGui"
screenGui.ResetOnSpawn = false
screenGui.IgnoreGuiInset = true
screenGui.DisplayOrder = 999999
screenGui.Parent = playerGui

local cursor = Instance.new("ImageLabel")
cursor.Name = "CustomCursor"
cursor.BackgroundTransparency = 1
cursor.Size = UDim2.fromOffset(CURSOR_WIDTH, CURSOR_HEIGHT)
cursor.Image = "rbxassetid://YOUR_ASSET_ID"
cursor.ZIndex = 999999
cursor.Parent = screenGui

UserInputService.MouseIconEnabled = false

RunService.RenderStepped:Connect(function()
    local mouseLocation = UserInputService:GetMouseLocation()
    cursor.Position = UDim2.fromOffset(mouseLocation.X - HOTSPOT_X, mouseLocation.Y - HOTSPOT_Y)
end)
100% Free

Get the Cursor Changer extension

Free for Chrome. Install once, then click Add on any cursor you like.
Install to Chrome