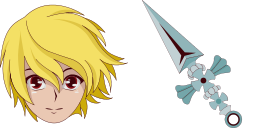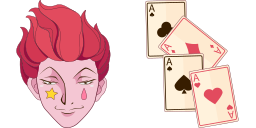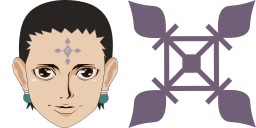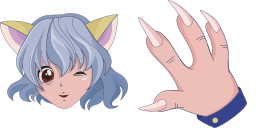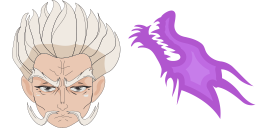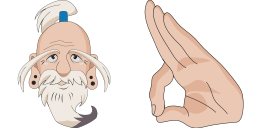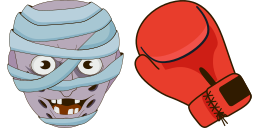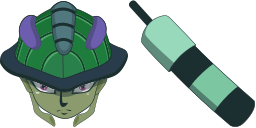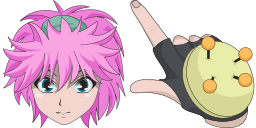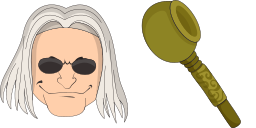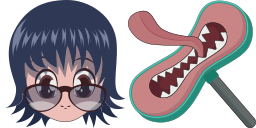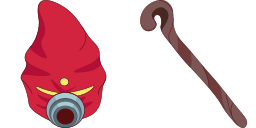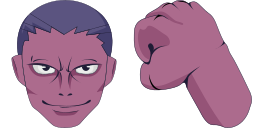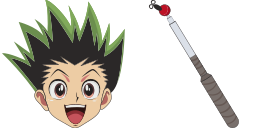
Превью курсора: Shaiapouf - 1 - cute-cursor.com

Набор курсоров

Shaiapouf

Hunter x HunterУстановлено 15 раз

Shaiapouf cursor for Chrome - butterfly chimera ant pointer with flute hover hand. Hunter x Hunter fan art.

В расширение

A butterfly-humanoid Chimera Ant and one of the Chimera Ant King's Royal Guards. Shaiapouf cursor for a mouse is a good fan art to decorate your browsing. Violin hover comes together with the custom cursor with Shaiapouf.

Файлы курсора

Скачайте файл или скопируйте готовый CSS и код для Roblox с правильным hotspot.

Курсор - 1 - cute-cursor.com

Курсор

Скачайте файл или скопируйте код для сайта, React, JavaScript или Roblox.

Вставьте этот CSS в стили. Координаты hotspot уже указаны.

.custom-cursor {
  cursor: url('https://cute-cursor.com/cdn/packs/807/arrow.png') 61 14, auto;
}

Вставьте этот JavaScript, чтобы применить курсор с правильным hotspot.

const CURSOR_URL = 'https://cute-cursor.com/cdn/packs/807/arrow.png';
const HOTSPOT_X = 61;
const HOTSPOT_Y = 14;
const CURSOR_FALLBACK = 'auto';

const cursorValue = `url('${CURSOR_URL}') ${HOTSPOT_X} ${HOTSPOT_Y}, ${CURSOR_FALLBACK}`;

// Apply to the whole page
document.body.style.cursor = cursorValue;

// Or apply to a specific element
// const target = document.querySelector('.my-element');
// if (target) target.style.cursor = cursorValue;

Скопируйте React-компонент и оберните им нужный контент.

import React from 'react';

const CURSOR_URL = 'https://cute-cursor.com/cdn/packs/807/arrow.png';
const HOTSPOT_X = 61;
const HOTSPOT_Y = 14;
const CURSOR_FALLBACK = 'auto';

export default function CustomCursor({ children, className = '', as: Tag = 'div', style = {}, ...props }) {
  const cursorStyle = {
    cursor: `url('${CURSOR_URL}') ${HOTSPOT_X} ${HOTSPOT_Y}, ${CURSOR_FALLBACK}`,
    ...style,
  };

  return (
    <Tag className={className} style={cursorStyle} {...props}>
      {children}
    </Tag>
  );
}

// Usage:
// <CustomCursor>Your content</CustomCursor>

Загрузите изображение в Roblox, замените YOUR_ASSET_ID и вставьте LocalScript.

-- Roblox custom cursor
-- Image URL: https://cute-cursor.com/cdn/packs/807/arrow.png
-- Hotspot: 61, 14
-- Size: 128x128
-- 1. Upload the image to Roblox and copy rbxassetid
-- 2. Replace YOUR_ASSET_ID below
-- 3. Put this LocalScript in StarterPlayer > StarterPlayerScripts

local UserInputService = game:GetService("UserInputService")
local RunService = game:GetService("RunService")
local Players = game:GetService("Players")

local player = Players.LocalPlayer
local playerGui = player:WaitForChild("PlayerGui")

local HOTSPOT_X = 61
local HOTSPOT_Y = 14
local CURSOR_WIDTH = 128
local CURSOR_HEIGHT = 128

local screenGui = Instance.new("ScreenGui")
screenGui.Name = "CustomCursorGui"
screenGui.ResetOnSpawn = false
screenGui.IgnoreGuiInset = true
screenGui.DisplayOrder = 999999
screenGui.Parent = playerGui

local cursor = Instance.new("ImageLabel")
cursor.Name = "CustomCursor"
cursor.BackgroundTransparency = 1
cursor.Size = UDim2.fromOffset(CURSOR_WIDTH, CURSOR_HEIGHT)
cursor.Image = "rbxassetid://YOUR_ASSET_ID"
cursor.ZIndex = 999999
cursor.Parent = screenGui

UserInputService.MouseIconEnabled = false

RunService.RenderStepped:Connect(function()
    local mouseLocation = UserInputService:GetMouseLocation()
    cursor.Position = UDim2.fromOffset(mouseLocation.X - HOTSPOT_X, mouseLocation.Y - HOTSPOT_Y)
end)
Указатель - 2 - cute-cursor.com

Указатель

Скачайте файл или скопируйте код для сайта, React, JavaScript или Roblox.

Вставьте этот CSS в стили. Координаты hotspot уже указаны.

.custom-pointer {
  cursor: url('https://cute-cursor.com/cdn/packs/807/hand.png') 143 0, pointer;
}

Вставьте этот JavaScript, чтобы применить курсор с правильным hotspot.

const CURSOR_URL = 'https://cute-cursor.com/cdn/packs/807/hand.png';
const HOTSPOT_X = 143;
const HOTSPOT_Y = 0;
const CURSOR_FALLBACK = 'pointer';

const cursorValue = `url('${CURSOR_URL}') ${HOTSPOT_X} ${HOTSPOT_Y}, ${CURSOR_FALLBACK}`;

// Apply to the whole page
document.body.style.cursor = cursorValue;

// Or apply to a specific element
// const target = document.querySelector('.my-element');
// if (target) target.style.cursor = cursorValue;

Скопируйте React-компонент и оберните им нужный контент.

import React from 'react';

const CURSOR_URL = 'https://cute-cursor.com/cdn/packs/807/hand.png';
const HOTSPOT_X = 143;
const HOTSPOT_Y = 0;
const CURSOR_FALLBACK = 'pointer';

export default function CustomPointer({ children, className = '', as: Tag = 'div', style = {}, ...props }) {
  const cursorStyle = {
    cursor: `url('${CURSOR_URL}') ${HOTSPOT_X} ${HOTSPOT_Y}, ${CURSOR_FALLBACK}`,
    ...style,
  };

  return (
    <Tag className={className} style={cursorStyle} {...props}>
      {children}
    </Tag>
  );
}

// Usage:
// <CustomPointer>Your content</CustomPointer>

Загрузите изображение в Roblox, замените YOUR_ASSET_ID и вставьте LocalScript.

-- Roblox custom cursor
-- Image URL: https://cute-cursor.com/cdn/packs/807/hand.png
-- Hotspot: 143, 0
-- Size: 128x128
-- 1. Upload the image to Roblox and copy rbxassetid
-- 2. Replace YOUR_ASSET_ID below
-- 3. Put this LocalScript in StarterPlayer > StarterPlayerScripts

local UserInputService = game:GetService("UserInputService")
local RunService = game:GetService("RunService")
local Players = game:GetService("Players")

local player = Players.LocalPlayer
local playerGui = player:WaitForChild("PlayerGui")

local HOTSPOT_X = 143
local HOTSPOT_Y = 0
local CURSOR_WIDTH = 128
local CURSOR_HEIGHT = 128

local screenGui = Instance.new("ScreenGui")
screenGui.Name = "CustomCursorGui"
screenGui.ResetOnSpawn = false
screenGui.IgnoreGuiInset = true
screenGui.DisplayOrder = 999999
screenGui.Parent = playerGui

local cursor = Instance.new("ImageLabel")
cursor.Name = "CustomCursor"
cursor.BackgroundTransparency = 1
cursor.Size = UDim2.fromOffset(CURSOR_WIDTH, CURSOR_HEIGHT)
cursor.Image = "rbxassetid://YOUR_ASSET_ID"
cursor.ZIndex = 999999
cursor.Parent = screenGui

UserInputService.MouseIconEnabled = false

RunService.RenderStepped:Connect(function()
    local mouseLocation = UserInputService:GetMouseLocation()
    cursor.Position = UDim2.fromOffset(mouseLocation.X - HOTSPOT_X, mouseLocation.Y - HOTSPOT_Y)
end)
Бесплатно

Get the Cursor Changer extension

Бесплатно для Chrome. Установите расширение и нажимайте «Добавить» у любого курсора.

Установить в Chrome