Cursor pack
Anti-Mage
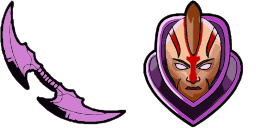
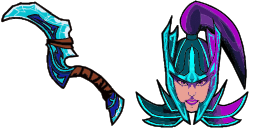
Anti-Mage cursor pack for Chrome - MOBA hero default pointer and ability hand hover. DOTA 2 fan art.
Add to Extension
The Anti-Mage cursor from the Games Cursor Collection is a perfect addition to any gamer’s browser experience. This cursor features the iconic image of the agile and elusive Anti-Mage, complete with his signature glowing blue eyes and weapons. The cursor is professionally designed and easy to install, providing an immersive and enjoyable browsing experience for fans of this popular character and game. With the Anti-Mage cursor, users can bring a touch of the action-packed world of gaming to their everyday web browsing.


